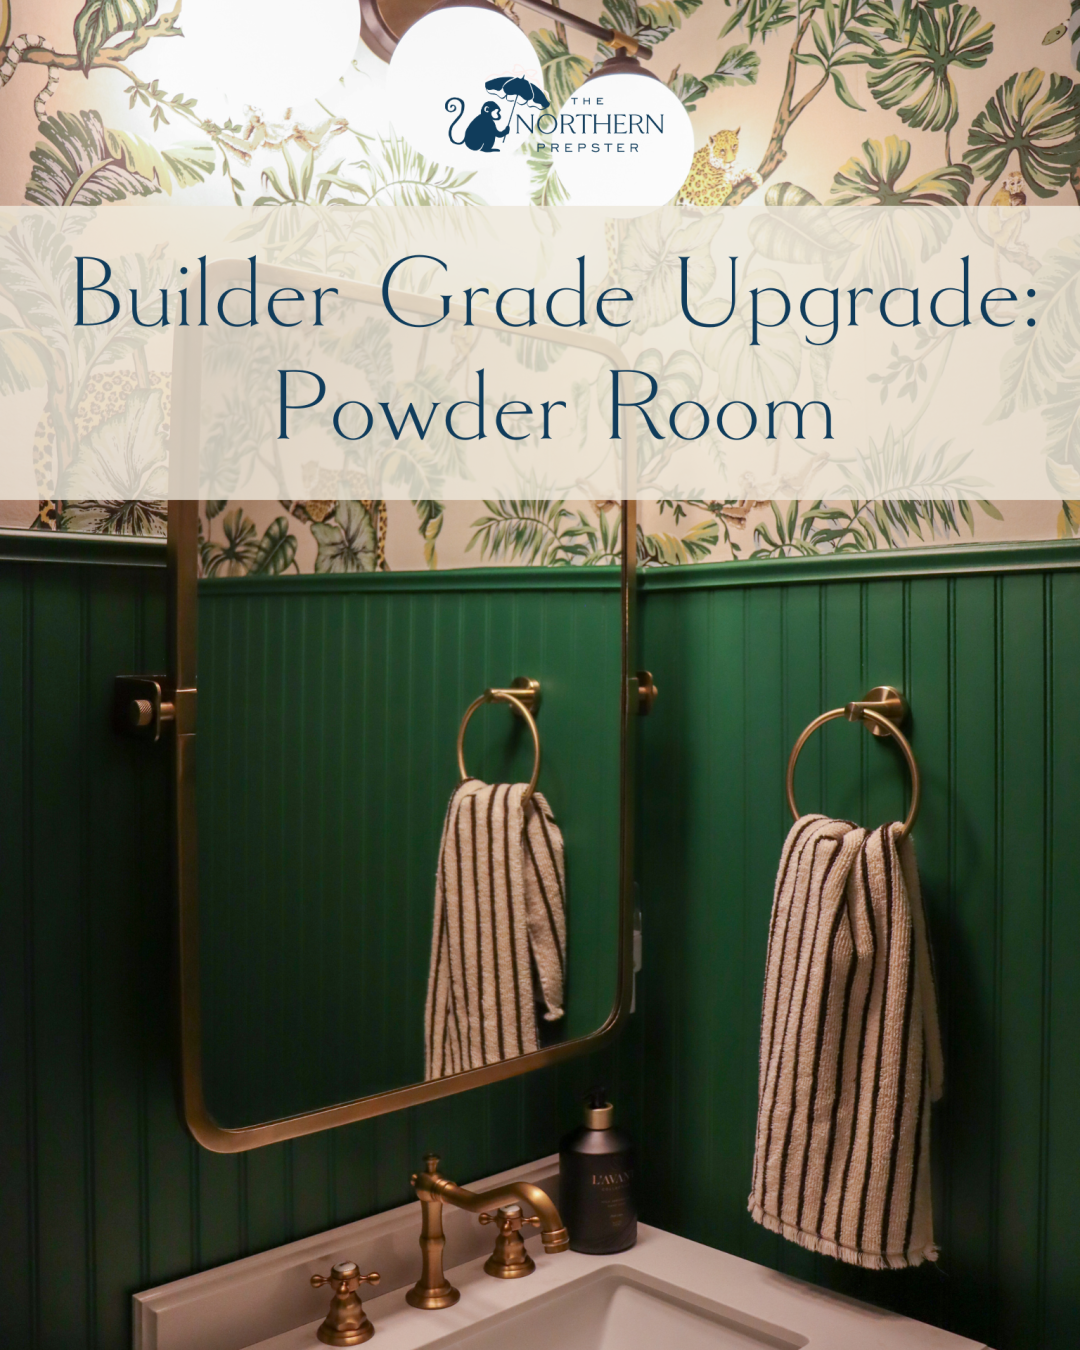
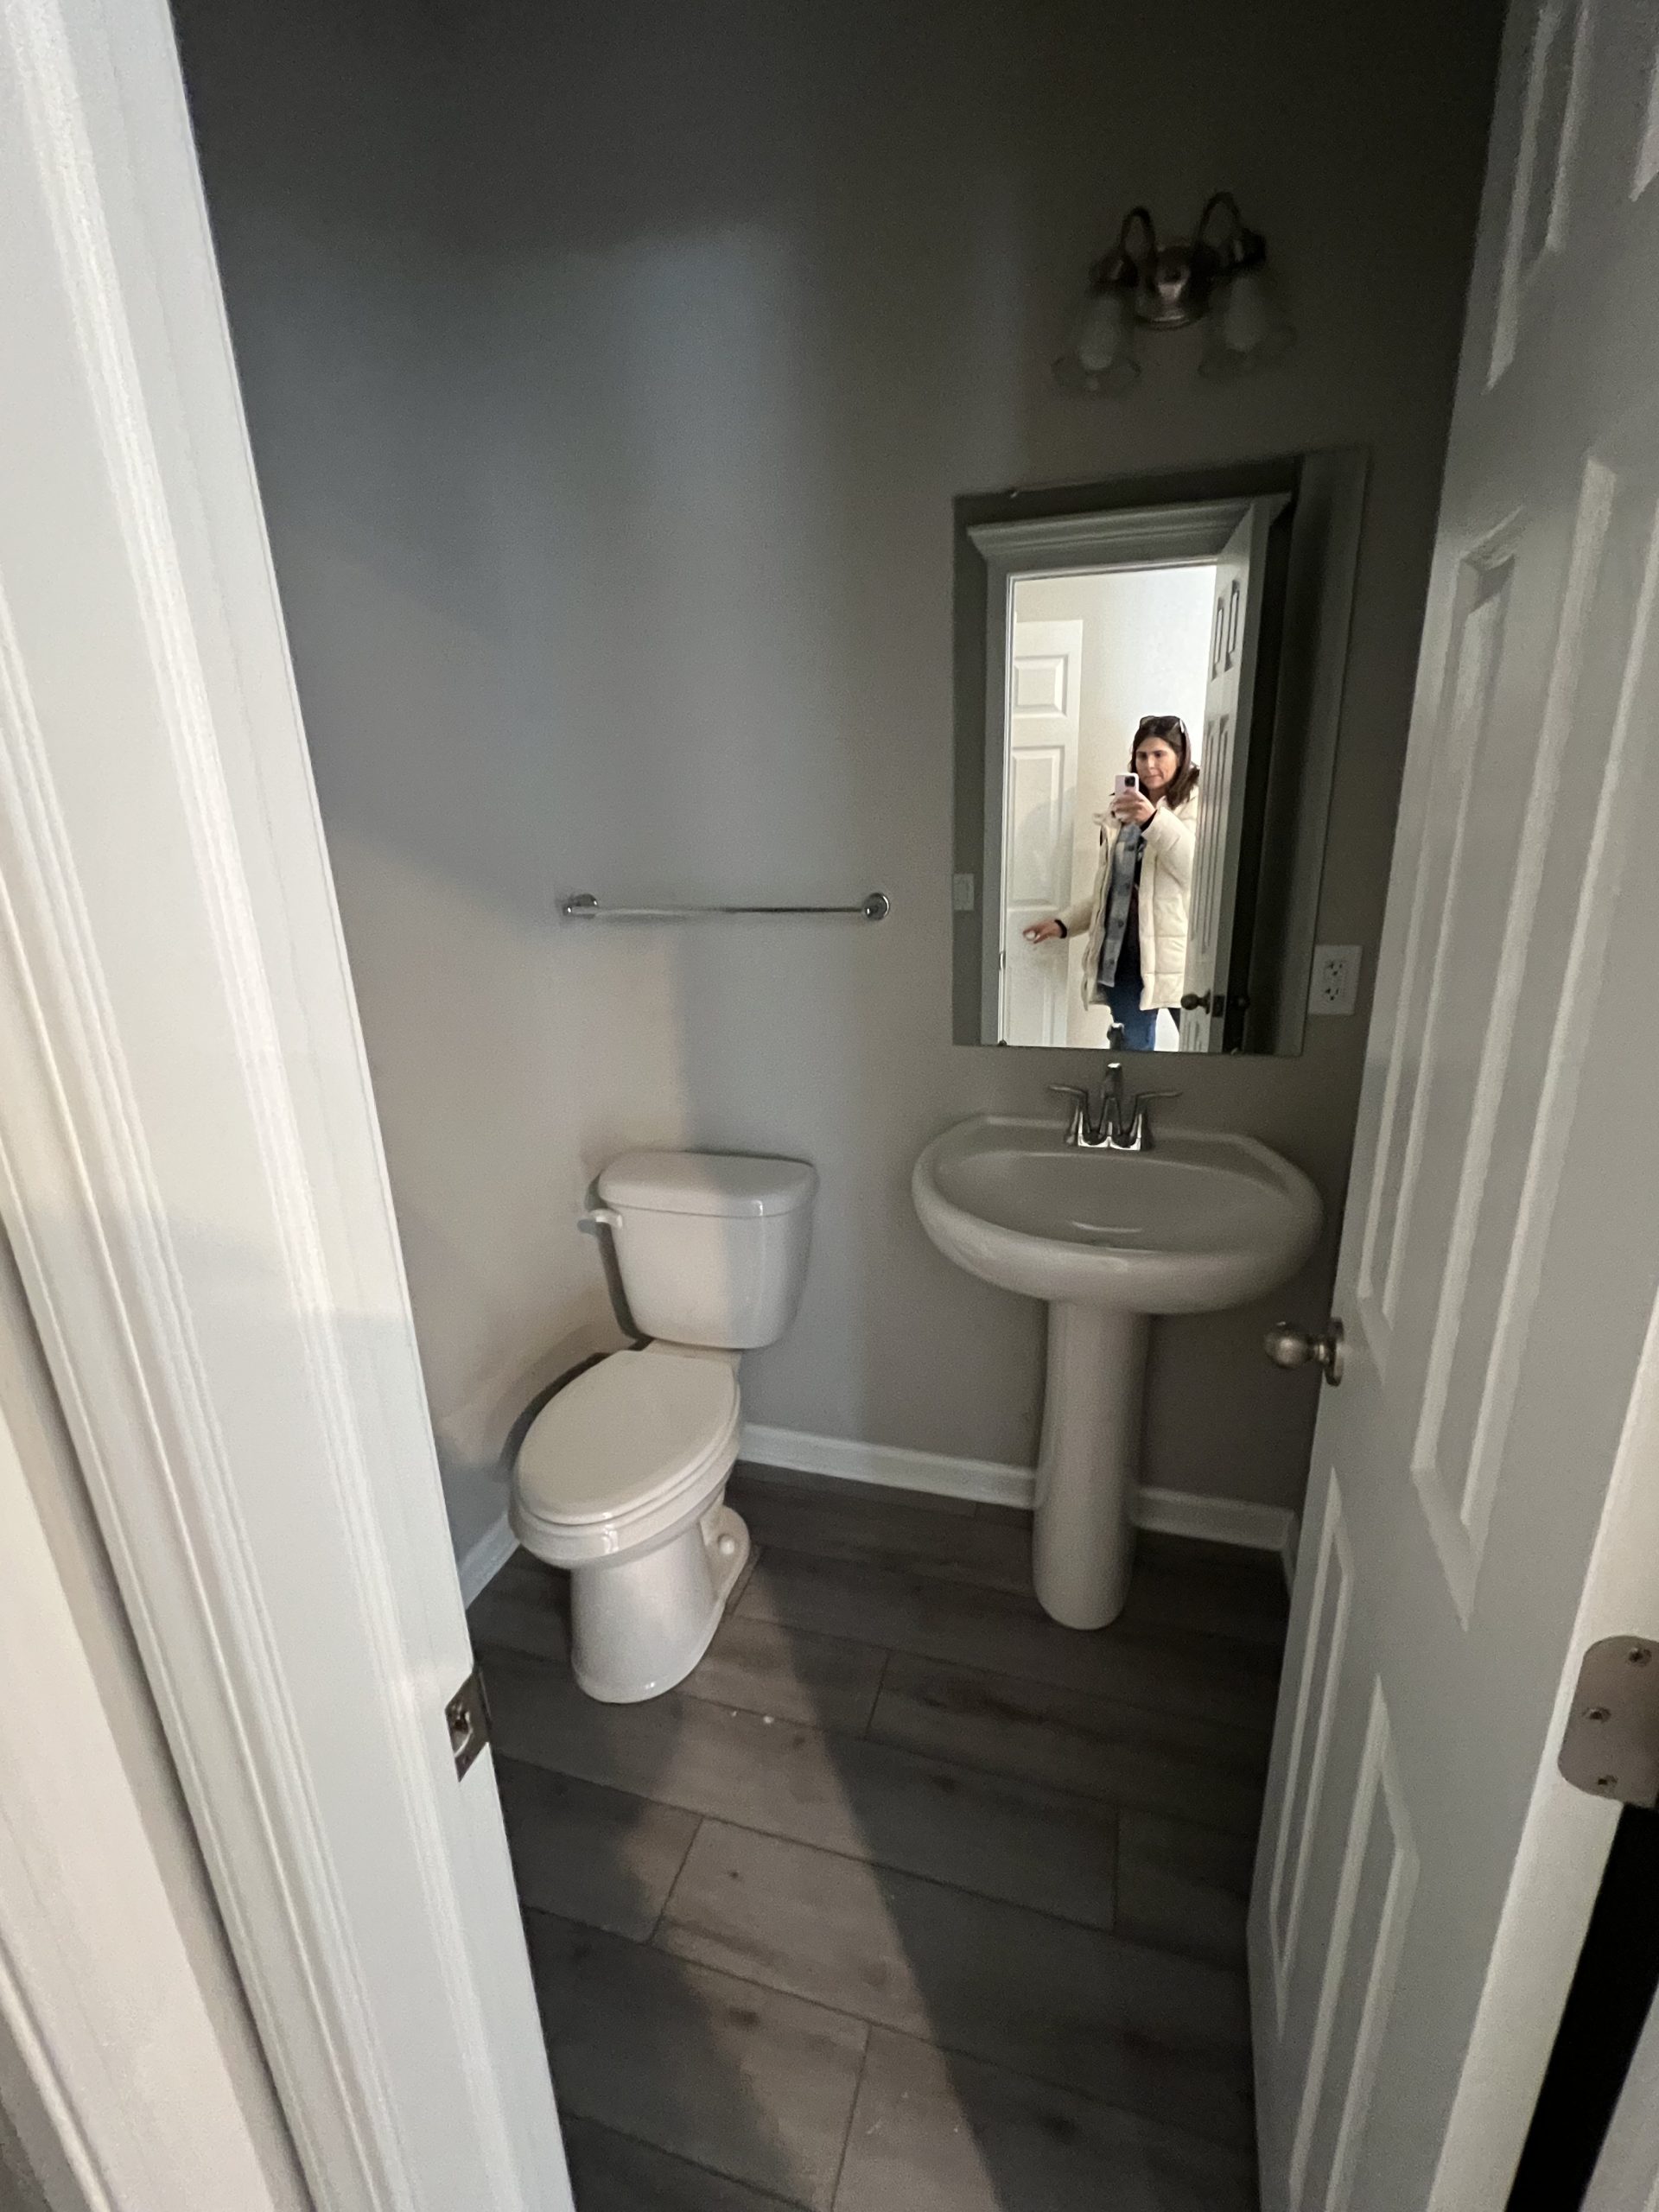
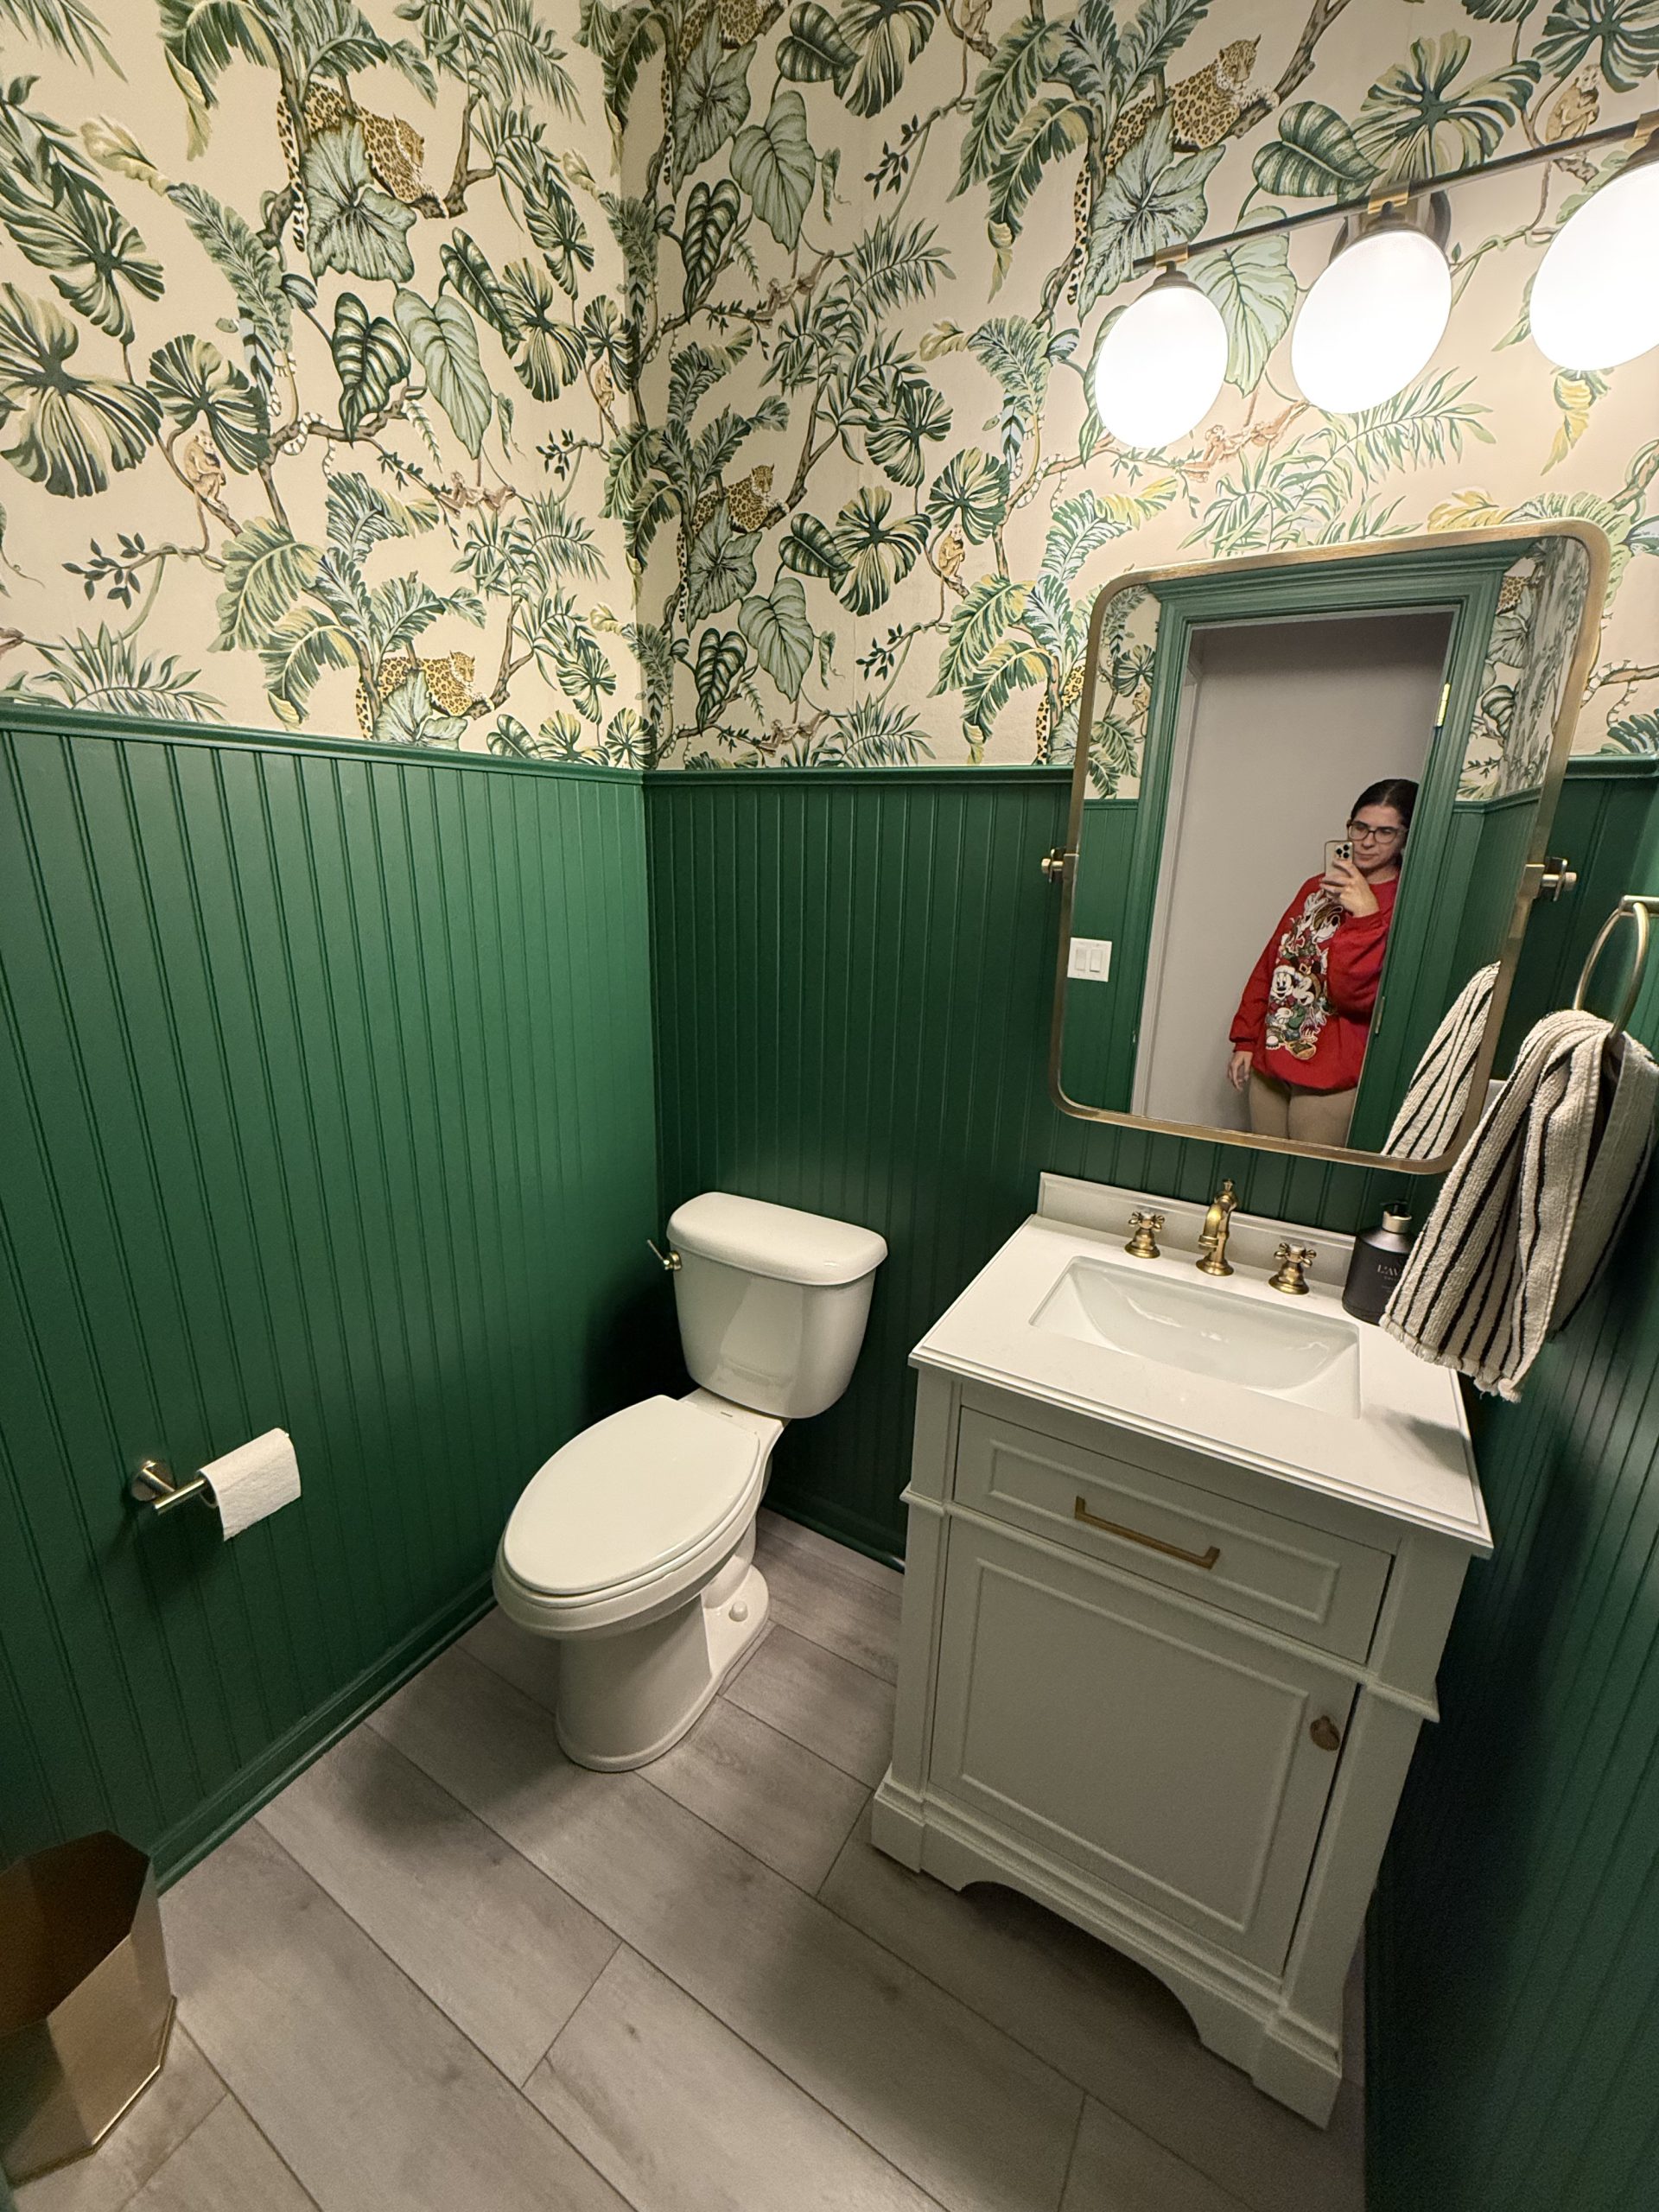
If you follow me on Instagram you’ve probably already seen our powder room reno we finished right before Christmas. This was a project we’ve wanted to tackle since moving into our home in Spring 2023. In fact we bought the wallpaper for this project before we even moved in!
On December 6th I turned to my husband Grant and said, “Let’s renovate the powder room before Christmas Eve.” He looked at me like I was insane, but knew that once I put my mind to something like this, it was becoming reality! That being said, I ordered a sink online that night.
Today I wanted to walk you through the steps we took to get this done, and share the products we used along the way! Also check out my Instagram to see video content of the project start to finish.
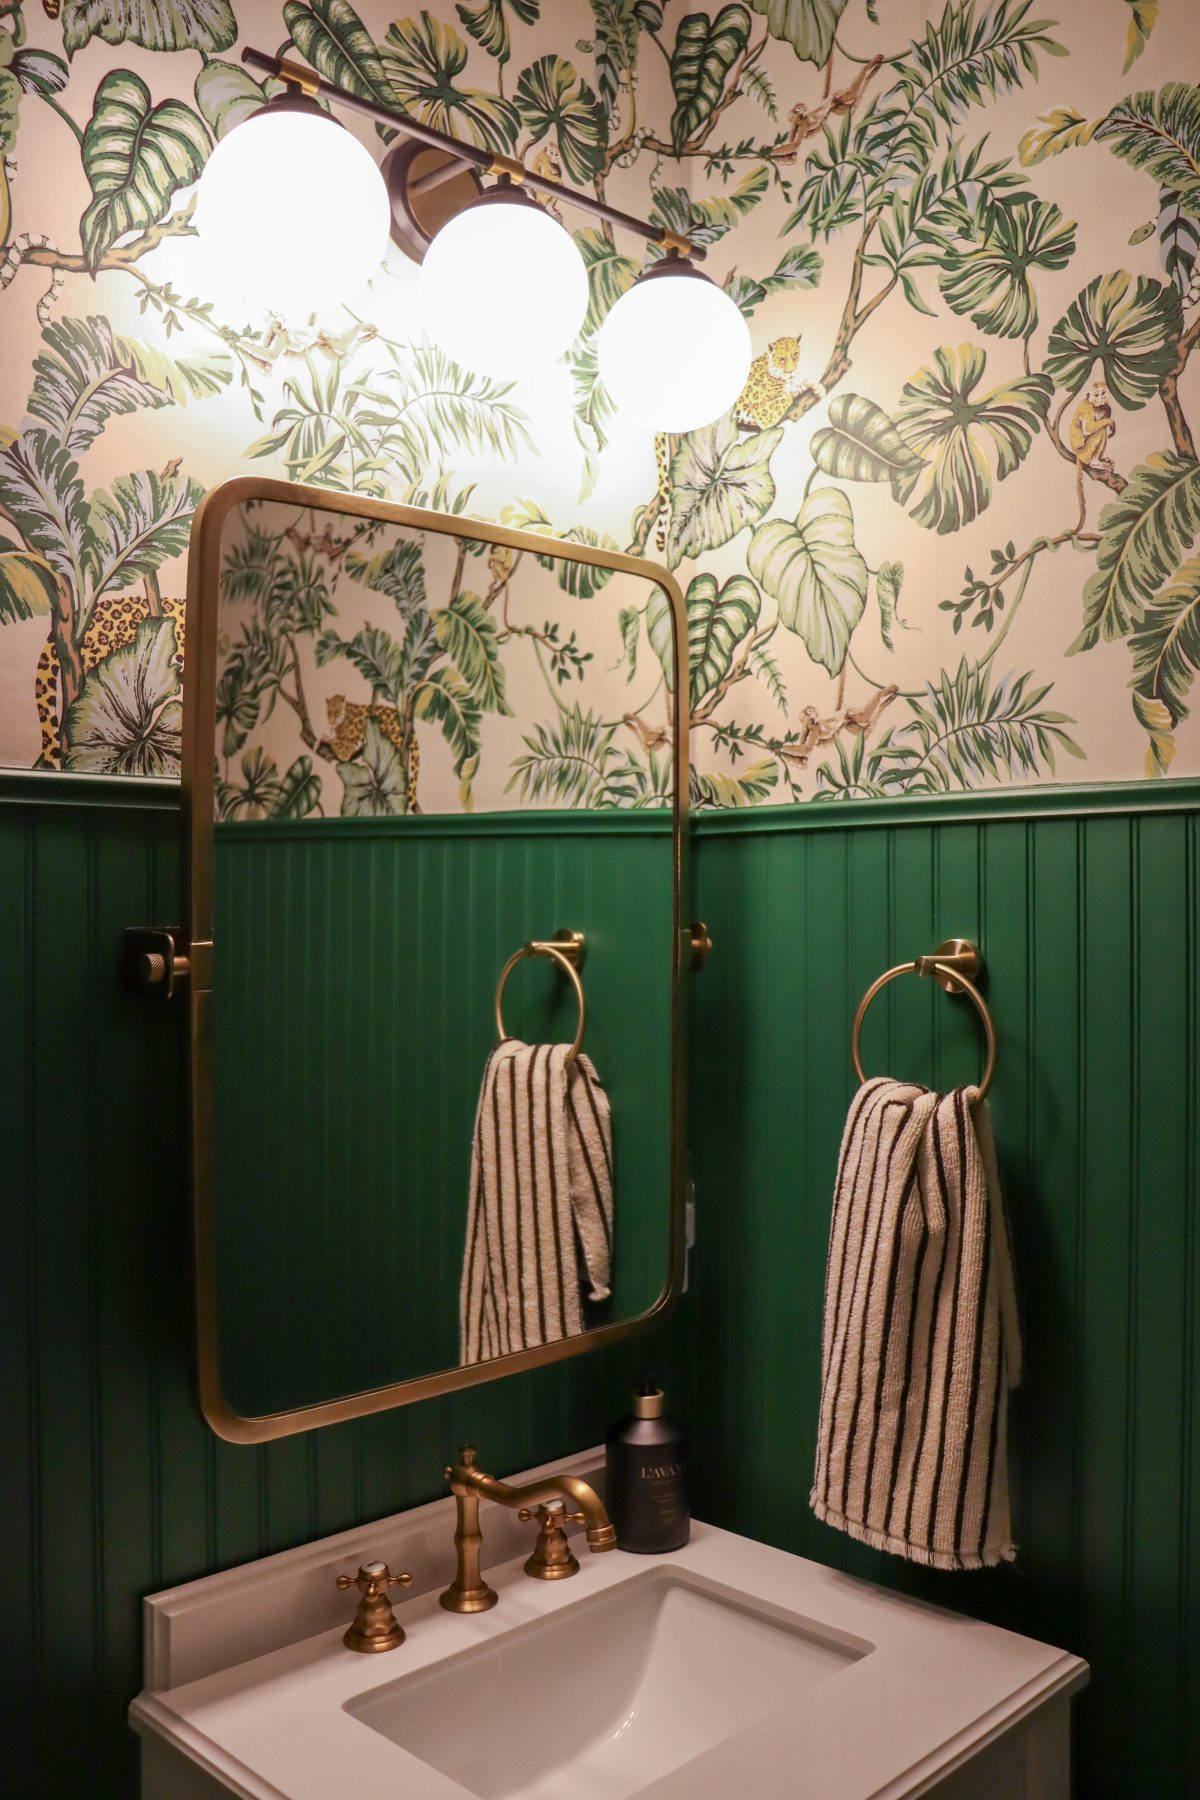
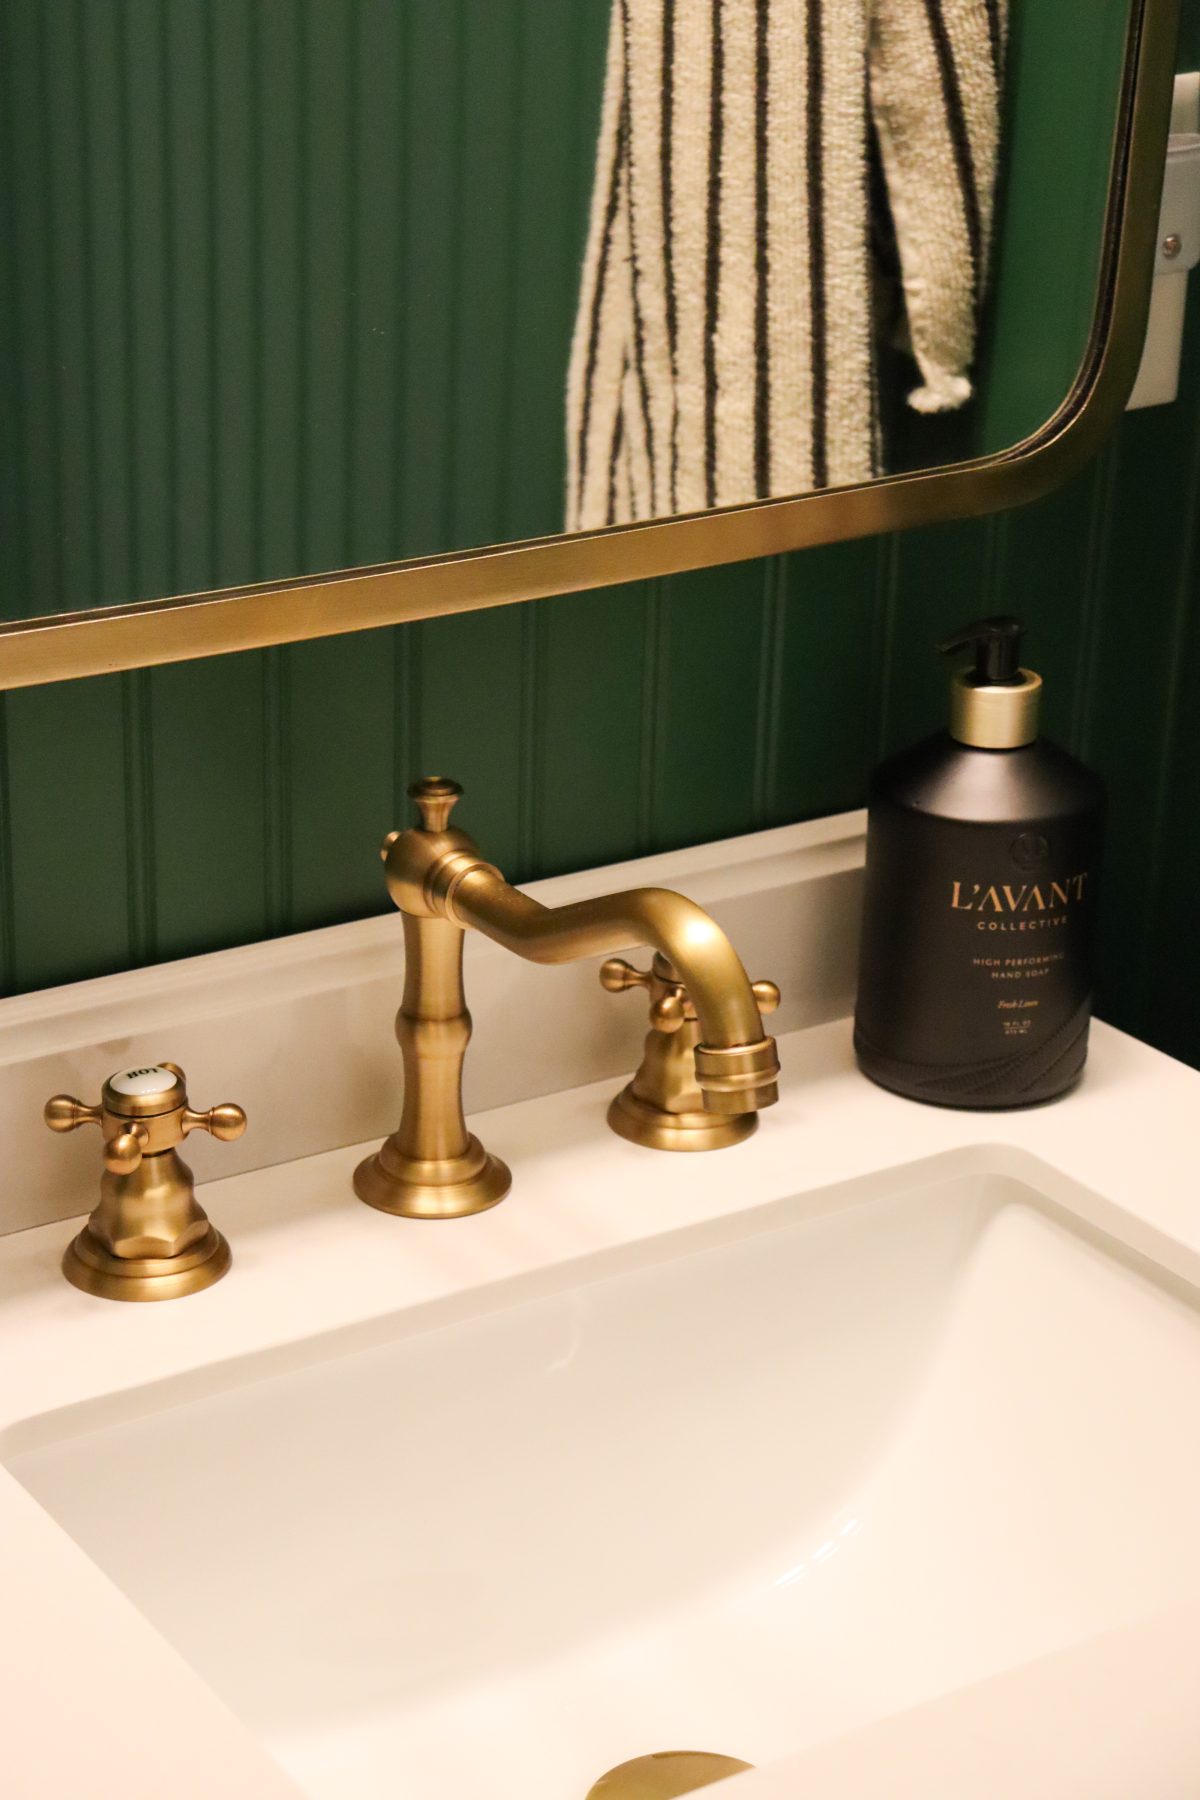
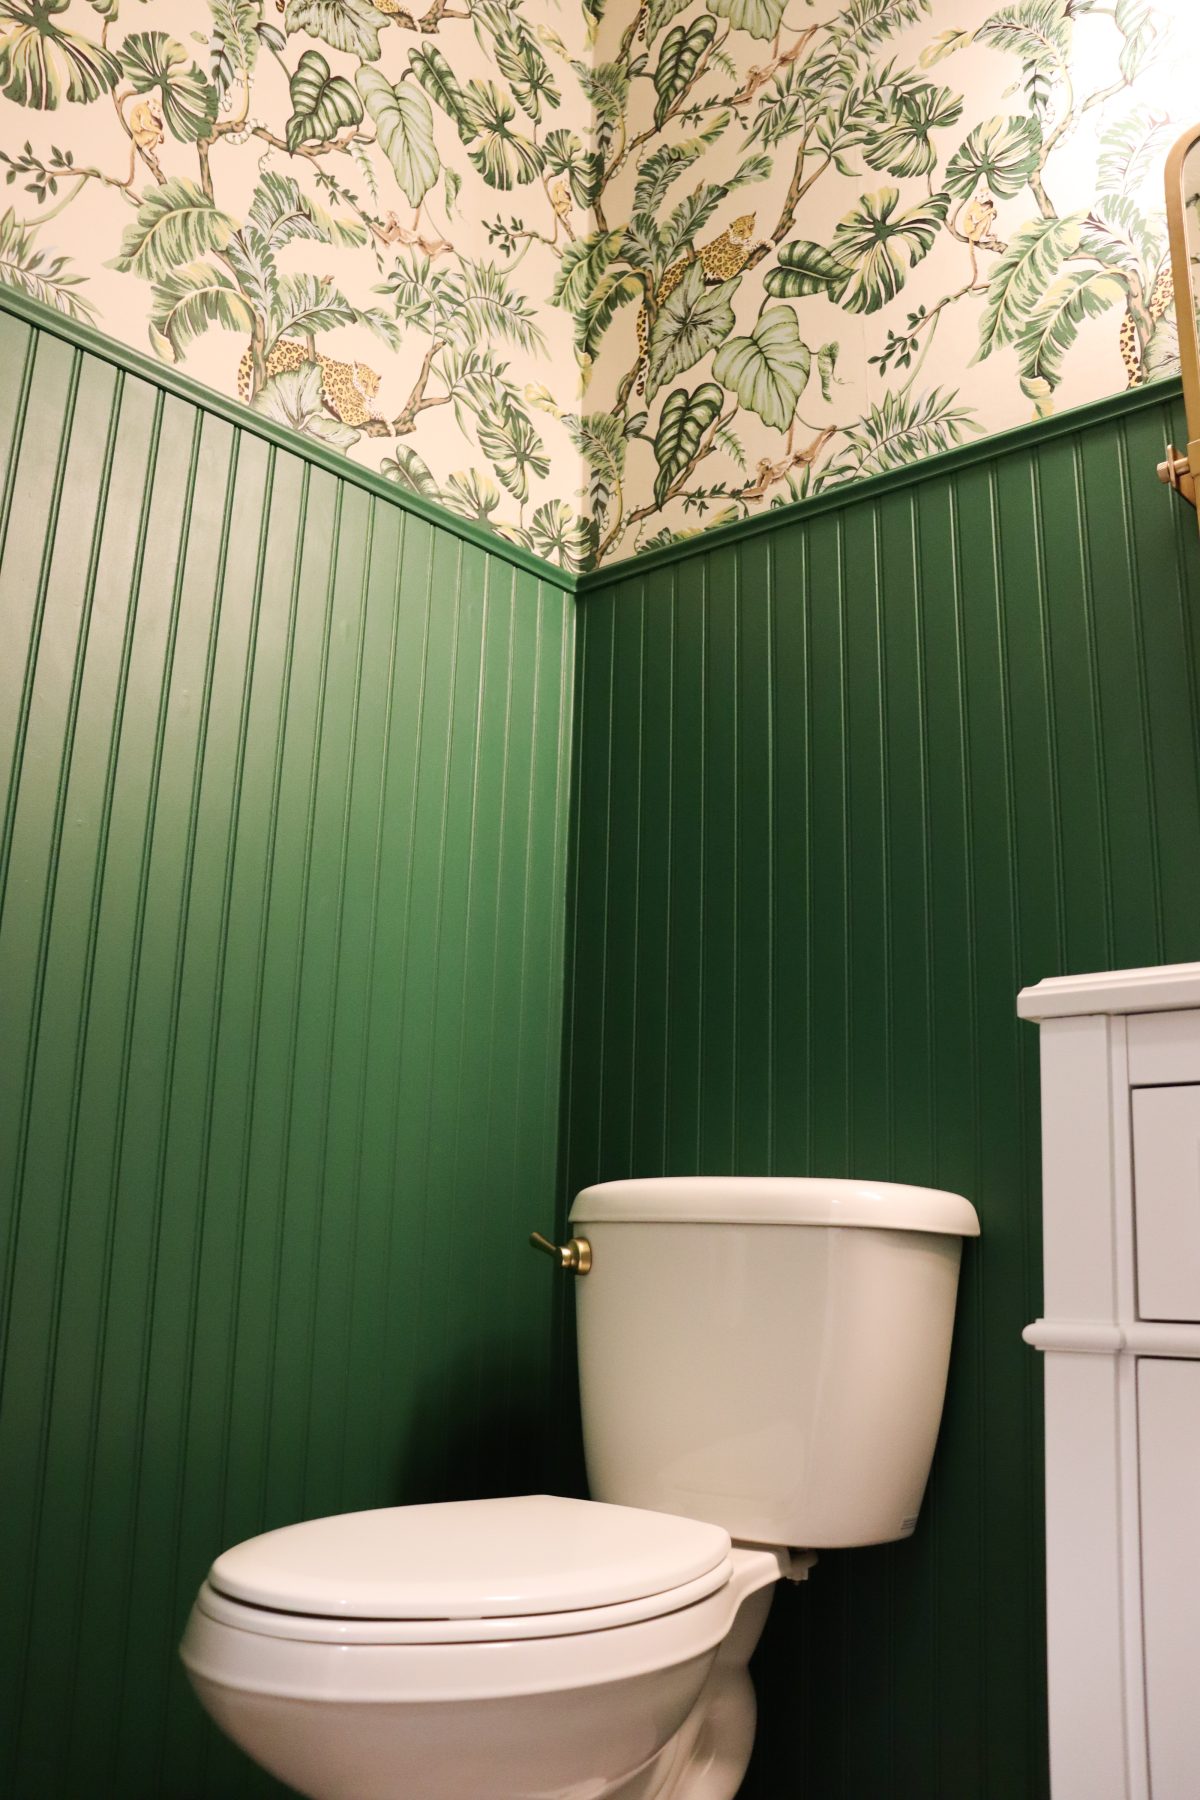
The entire inspiration for this space stemmed from the wallpaper! We purchased this in Spring 2023 at the Anthropologie Home Outlet (we happen to live close by!). This outlet typically has a TON of wallpaper, the issue is you need to find rolls from the same lot number so the colors match. When I saw this I instantly fell in love, while they only had 2 rolls I figured I’d get what I could and figure out a way to hang it in the powder room without covering the walls top to bottom. We got an incredible deal on this considering it is York brand – $85/roll vs. $148 retail. You can still purchase it on Anthropologie’s website as well as other places; York Jungle Cat in Taupe.
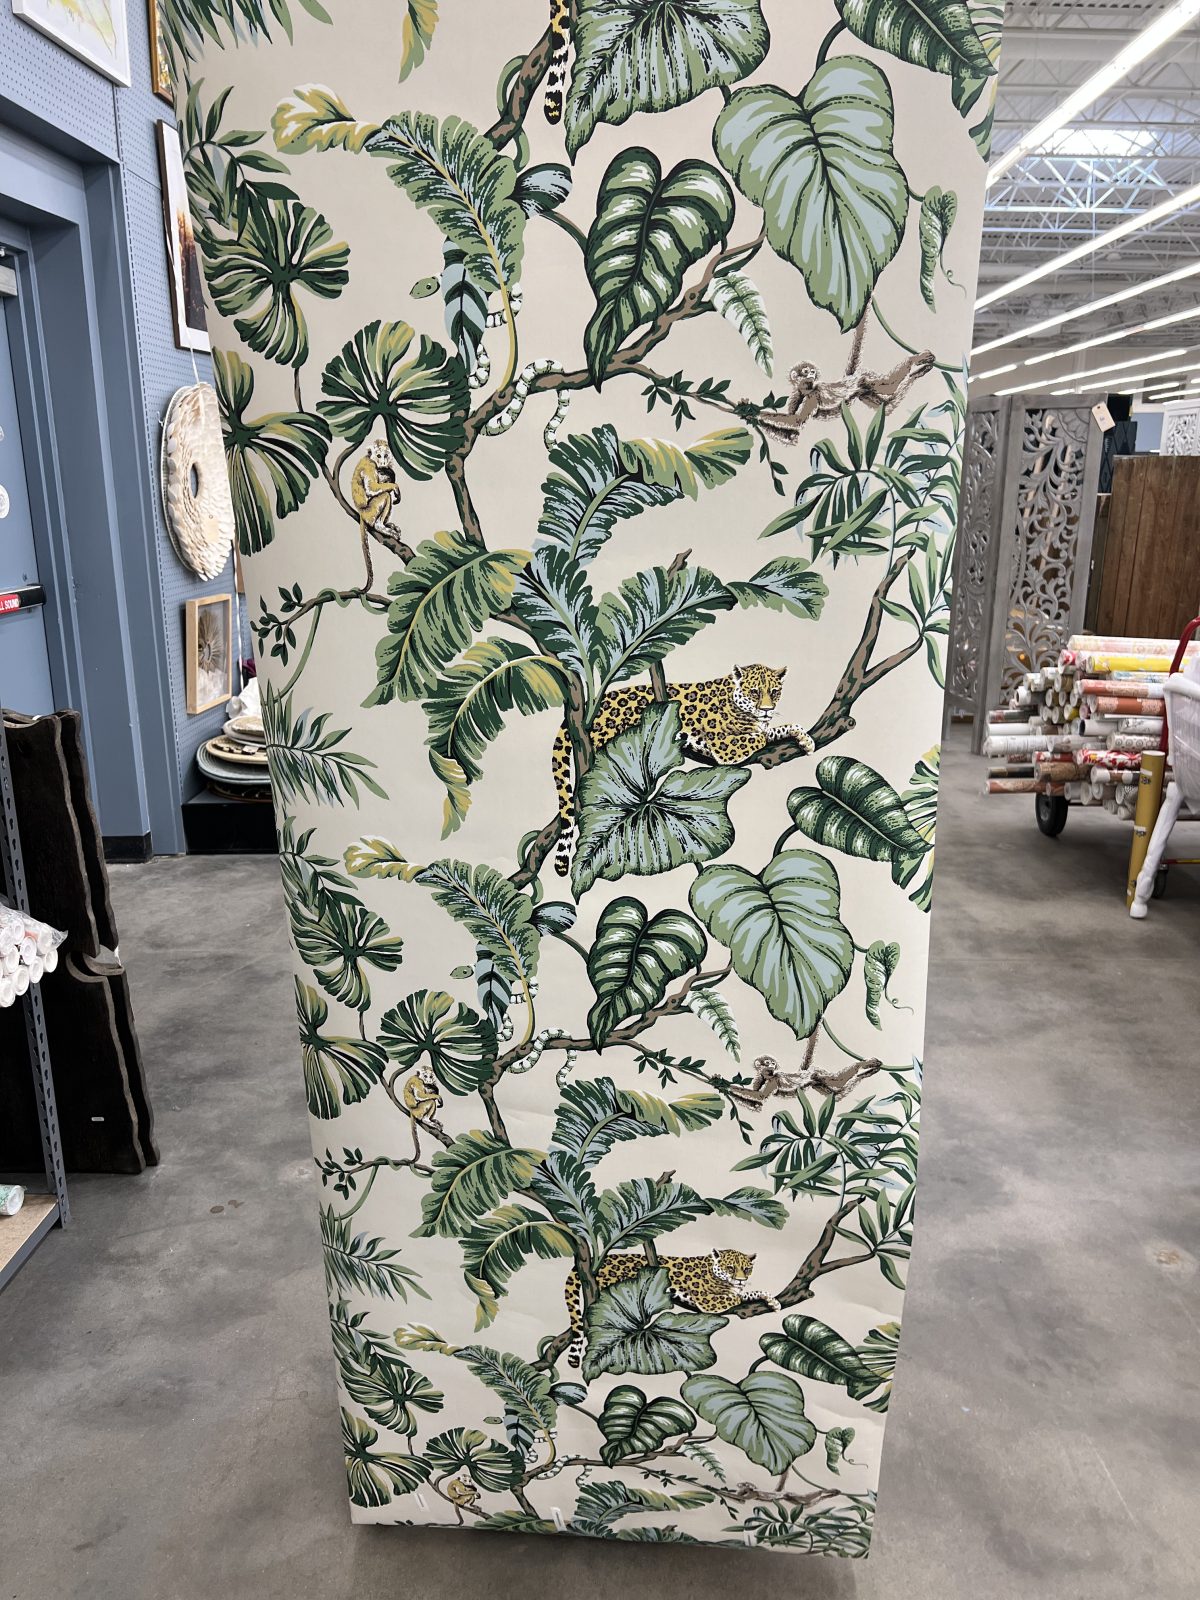
Since I already had the wallpaper – I had to figure out all of the other details. It was certainly a challenge because we had about 2 weeks until Christmas Eve, so I had to order things that would get there in time. Plus I had to cross my fingers that these items would look how I wanted them to, be good quality, and arrive without being broken!
I made a mood board of sorts via Canva and pieced the major things together that way until I loved the look. While this doesn’t look like it exactly, it certainly helped to organize my thoughts throughout the process.
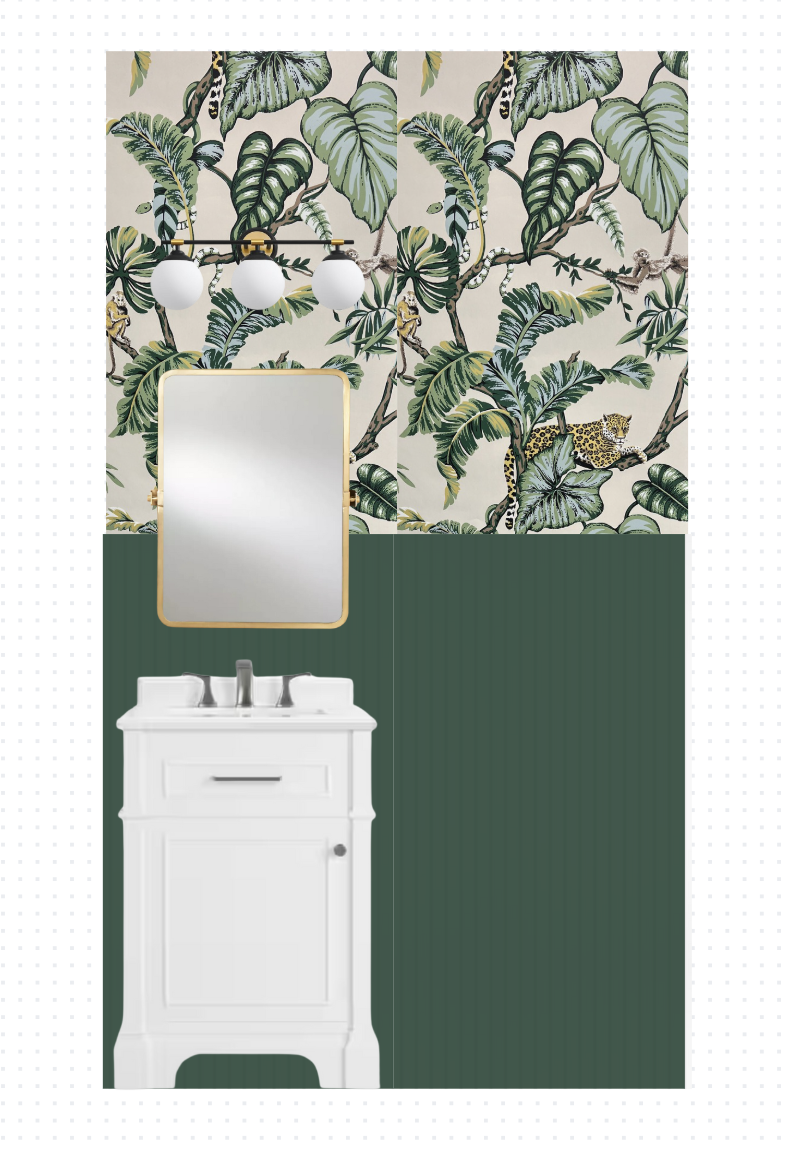
Here are the links to the products we purchased and ended up using:
- Sink Vanity (came with both silver and gold hardware)
- Faucet
- Mirror
- Light Fixture
- Hand Towel & Toilet Paper Holder
- Toilet Tank Lever
- Trash Can
- Door Knob
- Hand Soap
- Beadboard
- Paint: Sherwin Williams Emerald Custom Code – Manual Evergreens – Gallon – Interior Emerald Satin – Ultradeep Base – CC Colorant: oz, 32, 64, 128 – W1 White: x 33 1 1 – B1 Black: x 46 1 x – R3 Magenta: x x 1 x – Y2 Deep Gold: 4 5 1 x
- Wallpaper
The demo process went surprisingly smooth overall! While we had a few hiccups toward the end, overall it wasn’t bad. I am going to give a breakdown of the order in which we did things in case you’d like to do a project like this yourself. While had a little bit of help and guidance – I promise you if we can do it so can you!

Tearing Everything Out
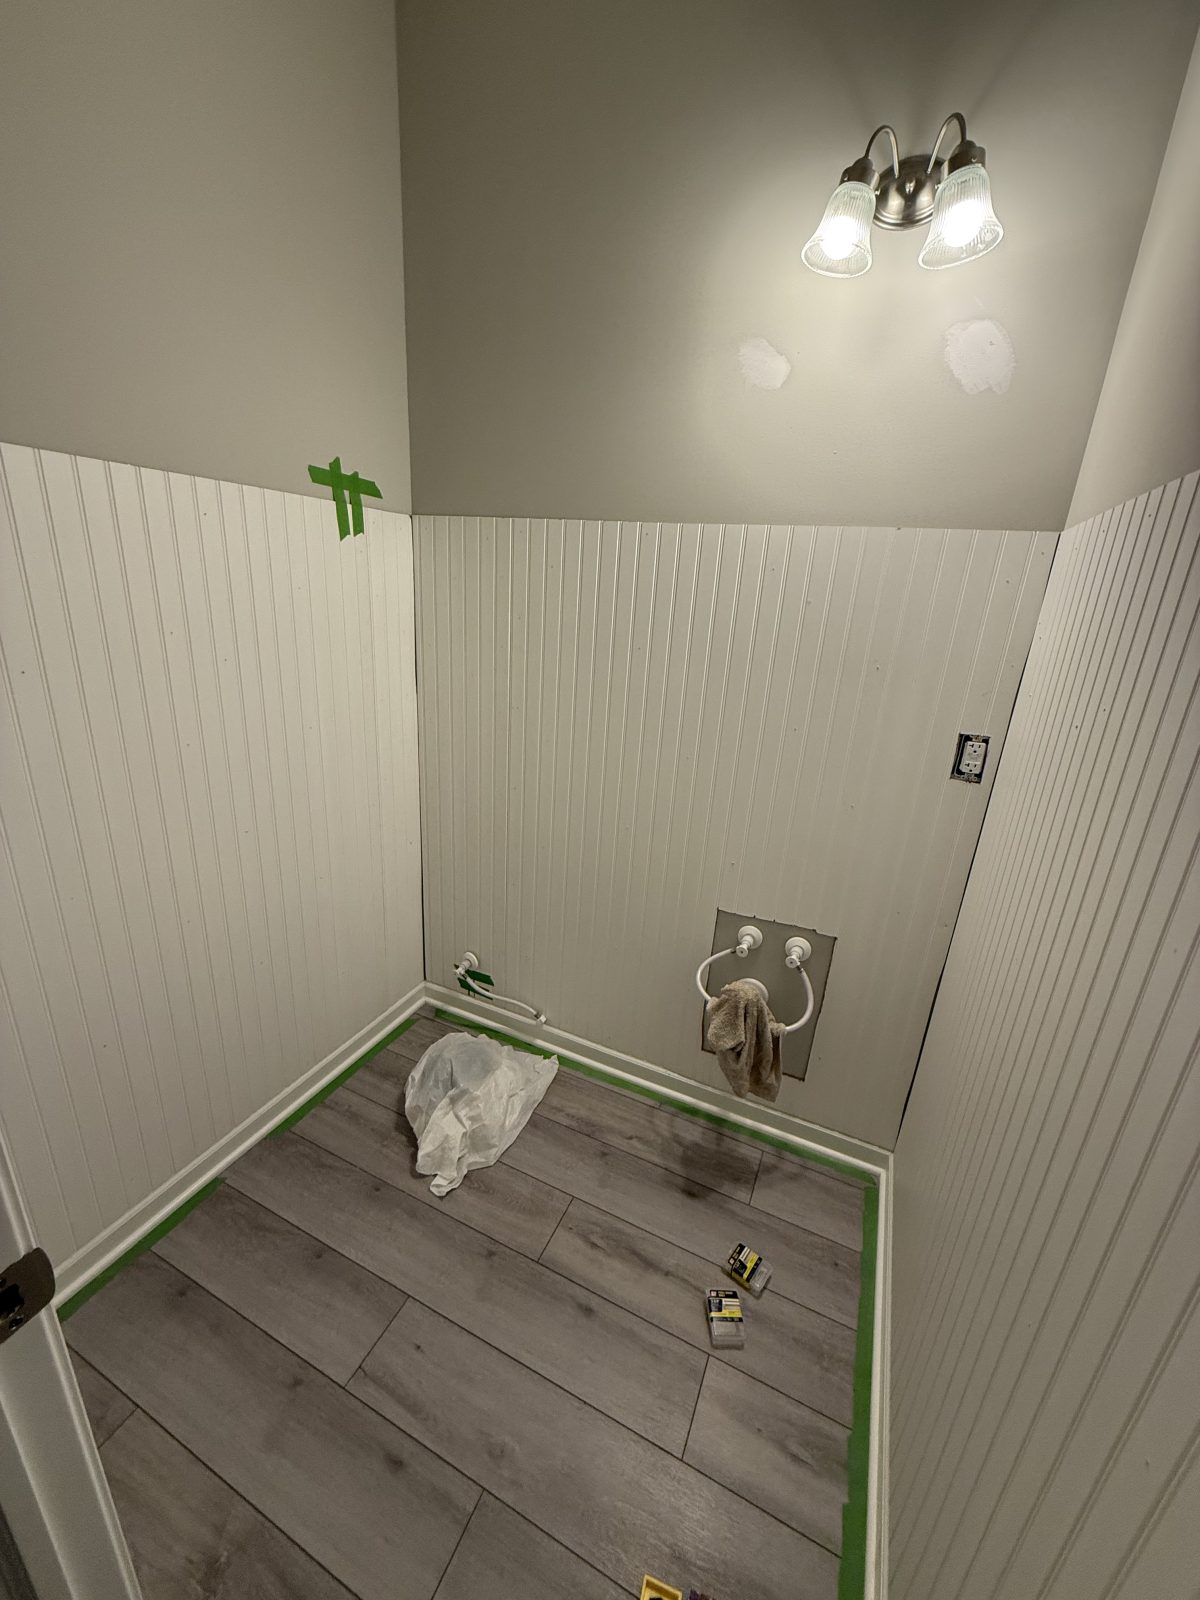
This was a quick and easy process. We took down the mirror, took off the towel ring and toilet paper holder, etc. We even took the door off of the hinges just so we could have as much functional space as possible. Plus, we were painting the door and replacing the doorknob so that made that process easier as well. We ended up keeping the light fixture up as we didn’t need to remove it until we were applying the wallpaper to that area. The light fixture is the only light in that bathroom – so it worked out better than setting up work lights in the space.
Next we had to remove the sink – since we were replacing it – and we removed the toilet. Originally we were going to replace the toilet but we ended up deciding against it. But it was essential to do so anyways since we were going to nail beaded board to the wall, paint, etc. It was very intimidating to mess with the plumbing but if you’ve never done it, it’s truly so much easier than it seems like it’ll be! We got some verbal help from my parents on this, but YouTube is your best friend!
Cut, Install, and Paint Beadboard
This was another aspect of this project we had zero experience with. We purchased our beadboard from Lowe’s – it was a paintable option which is what we needed. Prior to purchasing we measured the space to determine how many panels we would need. When we got them home we measured and cut as needed. We used a circular saw to cut the pieces to size then an oscillating saw to cut out portions for piping, electric, etc.
To install the beadboard we used both nails and liquid nails. We installed the uncut flat bottom of the board resting on top of the existing baseboard trim and made sure it was level along the way. We nailed the boards on as well, this would certainly be easier with a nail gun but doing it by hand is simple as well.
After letting the board settle for over 24hrs to assure it was on well, we installed the trim on the top of the board. This process was straight forward and Grant did the process independently. He was able to do this step with only liquid nails. That was then able to rest for about a day and then he went back and caulked, filled in holes, etc.
Painting was the easiest part of this project! it helped that we didn’t have to be super clean at the top since it would be wallpapered later on. I ended up using a brush for ~2 coats – so paint would get into the nooks well. I did a final last coat with a roller – on just the beadboard not on the trip – to give it a smooth finish.
Wallpapering
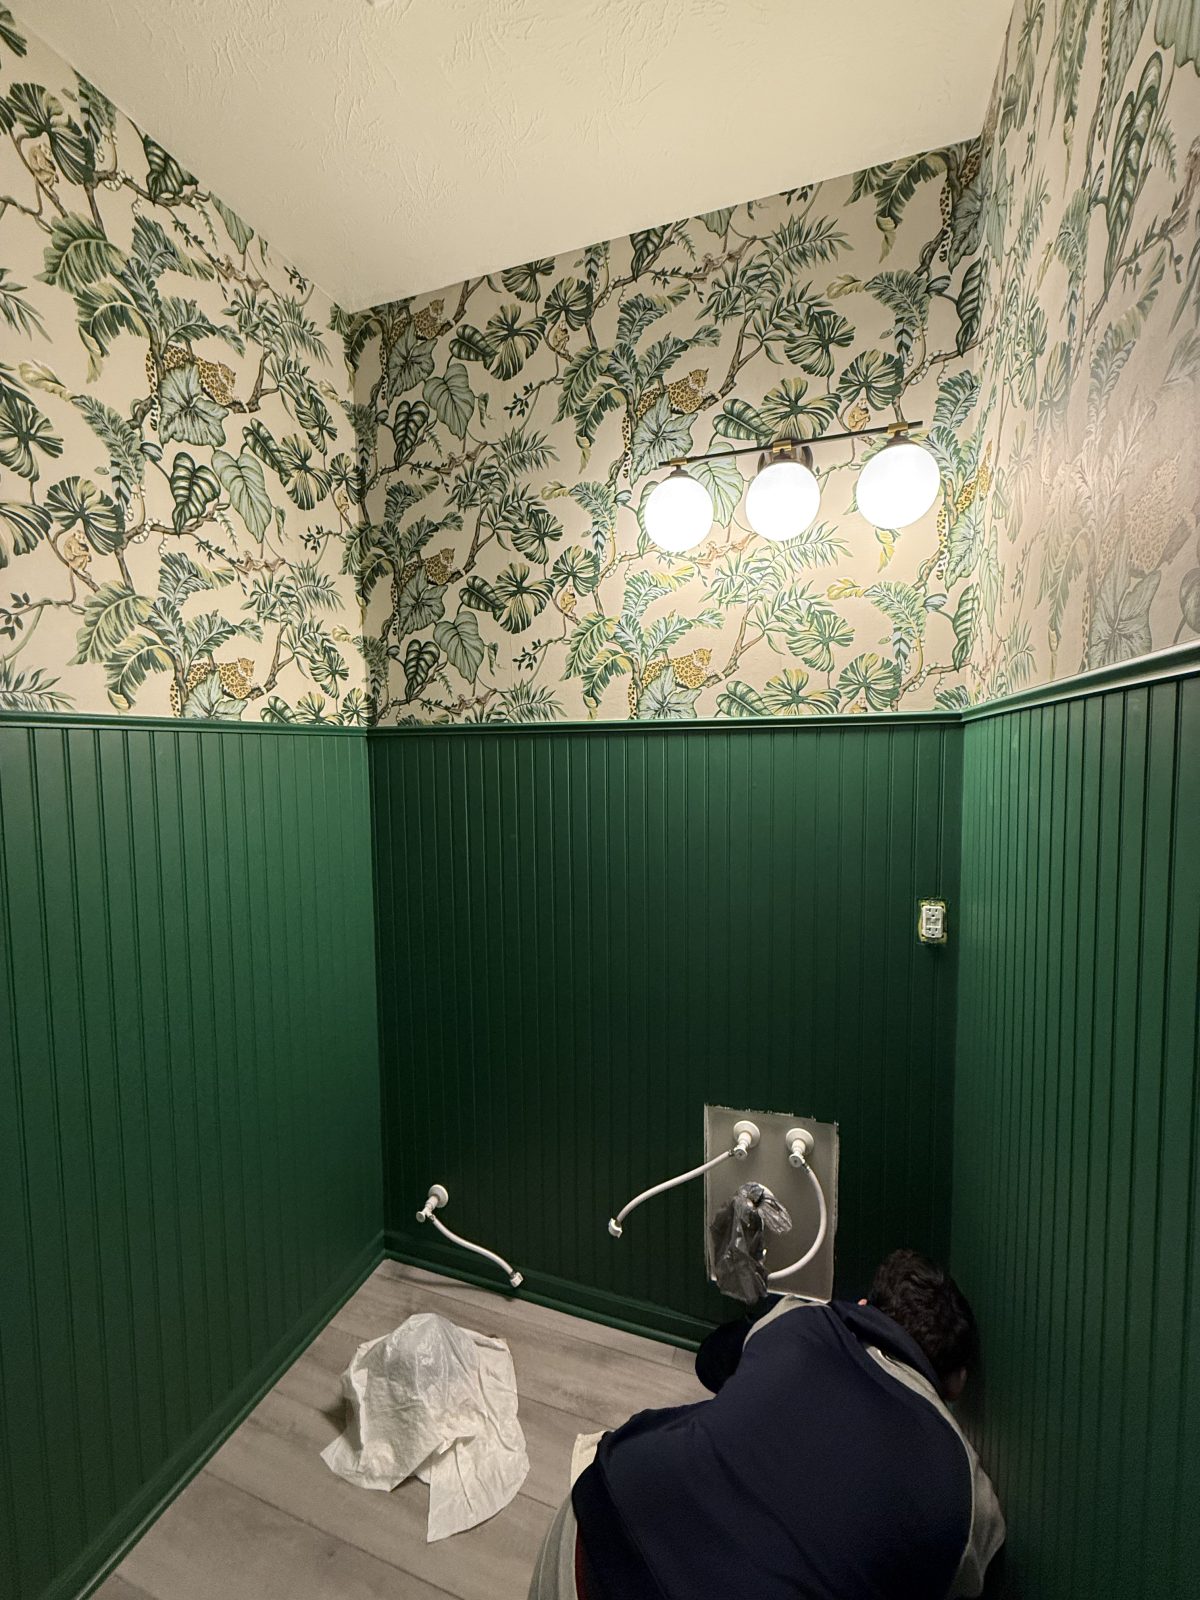
While we had used peel and stick wallpaper on numerous occasions, we had never had wallpaper that required paste. We recruited my mom for this since she was a wallpapering expert back in the day – but it had been a while for her. I started off feeling confident since we’d be doing such a small room – and only about the top 4 feet of the space. I felt that this was a good starter project to see if we felt confident wallpapering other spaces in the future.
If I can offer one piece of advice, I’d recommend doing a small space if you’ve never done this before. And I would highly recommend having at least one other person to help. I could have never done this alone! also not having to do an entire height of a wall helped us keep more control over the paper itself.
To be honest, after doing this I would NEVER do this for a full space. It was really tough and while overall it turned out well, without my Mom we would have been screwed! Genuinely, would have given up after 1 panel lol. Our ceilings are 10′ on our main floor, so it was easiest for my husband who’s over 6′ to be up on the ladder for application.
We used a this paste and this pretreatment (apply the day before), however my Mom said she always preferred making the mixture with a powder option. I may try this next time to see if it makes a difference! I also recommend have a brush like this in hand, large paint brushes to apply the glue, rags, and plastic/trash bags to cover the floor with. You will end up getting stick feet, hands, etc – so plan accordingly. If you get the glue on your painted areas that will not be covered with wallpaper, fear not! Just wipe it off with a wet rag.
Overall we used less than 2 rolls for this small space. Obviously you lose some wallpaper in order to match the pattern, if you make mistakes, etc. I took us around 5 hours and was definitely exhausting – but overall worth it!
Install
The final step was to install all of the new (and old) pieces! This is when everything really came together. When installing the sink, we made sure to measure well to ensure a perfect match.
We did have a family member who is an electrician install our light fixture, just to be safe. But if you’re not needing to change the location of anything and you’re confident – you could probably do it yourself!
//
I am so thrilled with how this project turned out! I am so happy that so many of you have loved it as well. This really motivated me to do some other house projects. And I learned some new skills along the way.
Let me know if you have any questions feel free to send me a message or comment below.
Cheers!
xoxo
Jayme







Leave a Reply